Freeze-dried strawberries have several advantages and can be used in a variety of dishes, including baking. These strawberries also include several health benefits. Here are some tips to preserve them. The first step is to make sure the strawberries are properly frozen. Then, you can mix the ingredients and use a soft spatula to combine the ingredients.
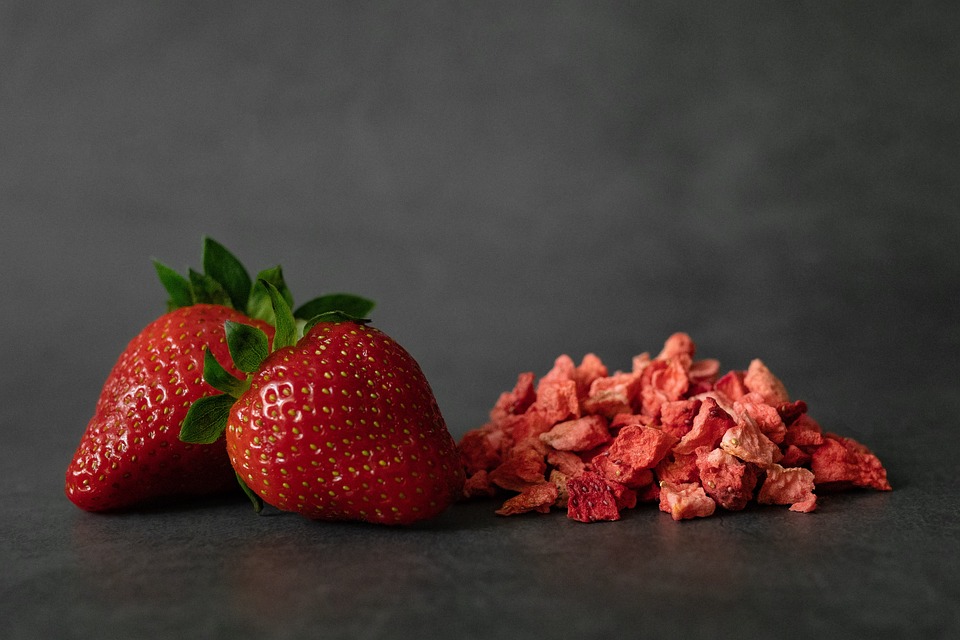
We’ll explain how to make freeze-dried strawberries in this article. Freeze-dried strawberries are a great healthful snack. Toddlers or anyone else can enjoy them as snacks. They can be used in anything, including pies, ice cream, and cakes. Because they are so lightweight, they are simple to transport and bring with you wherever you go. They are undoubtedly one of my go-to favorites.
How to Make Freeze-Dried Strawberries?
The freeze dryer produces fantastic results with strawberries! They have a richer strawberry flavor that is sweeter than candy and are light and airy. One of the foods that will be challenging to keep stocked on your pantry shelves is this one. Particularly when you consider all the entertaining uses for your freeze-dried strawberries once they are prepared! They are ideal as a nutritious snack!
Or, if you can prevent your loved ones from snacking on them, you may store them properly in a Mylar bag with an oxygen absorber, which will significantly extend their shelf life. This eliminates oxygen and light, two factors that are crucial for food deterioration. Your strawberries will endure 25 years if you only keep them in a cool place!
Step 1: Use Fresh or Frozen Strawberries
Either fresh or frozen strawberries can be used as a starting point. To find strawberries at a great price, check out farmer’s markets, your neighborhood farm co-op sales, or keep an eye out for grocery store bargains.
Strawberry slices or whole strawberries can also be bought already frozen. It’s a terrific technique to expedite the food preparation process! If the prices are the same, go with the sliced strawberries since it will probably be simpler to work with them later.
To buy the proper number of strawberries for your freeze drier and later preparation onto trays, use the following calculator.
- Small Freeze Dryer – 1-1.5 lbs per tray = Purchase 3-5 lbs
- Medium Freeze Dryer – 1.5-2 lbs per tray = Purchase 6-8 lbs
- Large Freeze Dryer – 2-2.5 lbs per tray = Purchase 10-12 lbs
Step 2: Prepping Strawberries for the Freeze Dryer
Aim for fresh strawberries in their prime season! You can discover them on sale at typically fantastic costs, and they’ll not only provide you with the best outcomes but also a fantastic flavor that they’ll keep.
To get rid of any debris, pesticides, or other contaminants that may be on the strawberry’s skin, give it a good rinse. With a cloth or paper towel, pat the fruit dry. While you finish rinsing the remaining strawberries, you could alternatively just spread them out on a piece of paper and let them dry naturally while you work.
After removing the stem, slice the flower either in half or into 1/4″ thick slices with a sharp knife. Or, to speed up preparation, use a strawberry or egg cutter! For the majority of purposes, slices will be simpler to handle, but half-strawberries are more convenient and can be used in a variety of recipes, including smoothies, pies, and baked goods.
To save time during the freeze-drying process, place your loaded trays in the freezer for at least 12 hours after filling them. Alternately, use brand-new ones and let the machine handle this step.
Frozen Strawberries: Give the frozen strawberries a few hard whacks on the counter to loosen them up a bit before opening the bag. After clearing the tray of any ice crystals, load it.
Investing in (2) two 3lb packages of frozen strawberries has proven effective for me. Each bag contains a fair amount of sliced berries to fill two medium trays given the size of the trays.
Load the Trays: Using the weight chart above, fill the trays with the prepped strawberries. The strawberries don’t have to be separated or entirely flat-out laid out. They don’t have to be in a single layer, they can overlap, and it won’t affect how well they dry because they won’t stick together.
If you want to make cleanup even simpler, line your trays with parchment paper. You shouldn’t need to put anything special below the strawberries since they come off the trays fairly readily.
Step 3: Using your Freeze Dryer
30 minutes before your trays are ready, get your freeze dryer ready.
Touch the start screen on your Harvest Right Freeze Dryer. Your choices will include whether your food is pre-frozen or not, as well as whether it is liquid or not. You will be guided through the necessary steps to start the machine via the screens. Remember to close the drain valve!
The temperature of your freeze drier will drop to 32 F before asking you to add your trays. You’ll choose to continue after adding them. You’ll want to check on your freeze dryer from time to time, but it won’t be finished for another 20 hours or more. It will be frozen, vacuum frozen, dried, and then finished with a dry process.
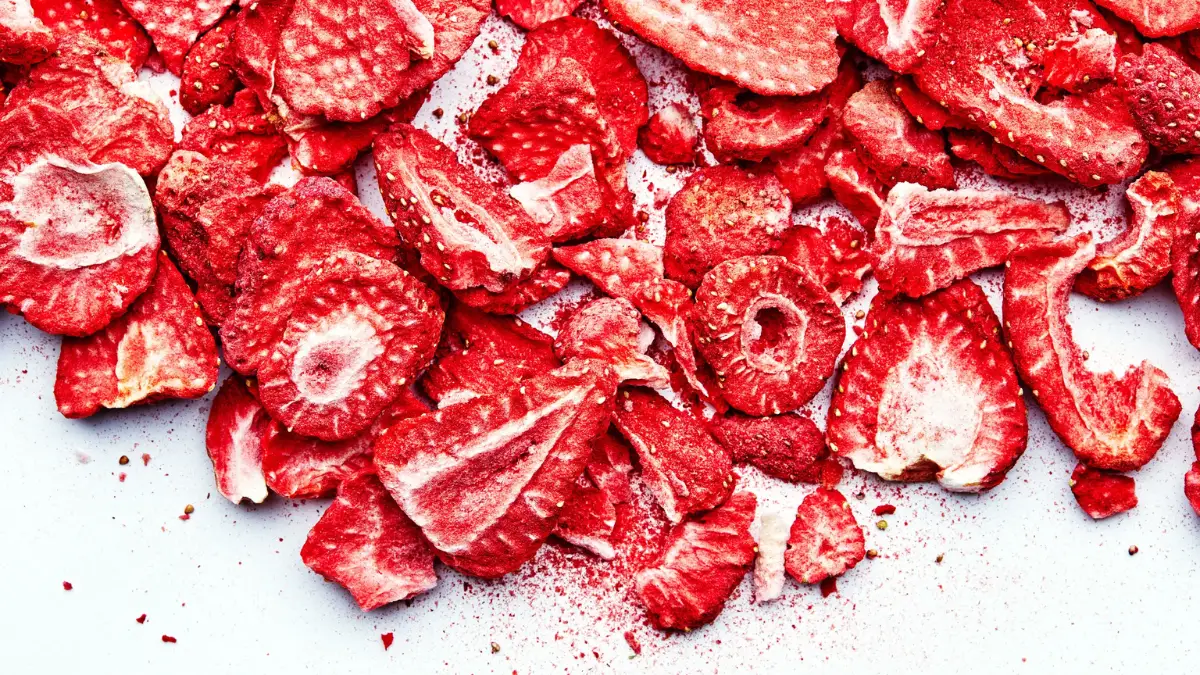
You can verify the trays when the process has finished showing as complete. Make sure the strawberries are thoroughly dry by giving them a close inspection. To check if there is any moisture in the thickest regions of your fruit, look for your thickest pieces and crack them open.
Before ending the cycle, you can extend the dry time if there is any lingering wetness. Usually, adding more time should be added after the first two to four hours, and then the process should be checked again to see how it went.
After the fruit has dried entirely, you can package it for either short- or long-term use by removing the trays. For usage within a few months, use airtight containers such as these (my favorite!) or mason jars.
Can you Freeze Dry Strawberries in an Oven?
A vacuum setting is not created in an oven, which is more like dehydrating strawberries. To learn more about the distinctions between freeze-drying and dehydrating, visit our post on how freeze-drying functions. Similar to freeze-dried strawberries, dehydrated strawberries lose some of their nutrition, flavor, and color when processed via a food dehydrator.
Does Freeze-Drying Strawberries Take a Long Time?
Fruit is not the slowest fruit, but it does take longer than certain other foods. Fruits like grapes and pineapple, for instance, require a lot more time due to their high liquid content! Once your strawberries are frozen, freeze-drying them will take about 20 hours. Dry strawberries at room temperature can be frozen, although this will add to the overall time required.
How can you tell if the Strawberries are Fully Freeze Dried?
When the freeze-drying cycle is over, open the pressure release valve and let the pressure escape to see if the strawberries are completely freeze-dried. Open the food chamber once the pressure has completely subsided.
Take a few strawberries from the tray’s middle and break them at their center to determine whether the strawberries have dried completely. They are completely dried on the interior if they crumble readily and don’t feel sticky or leathery.
The strawberry might be crumbled as another indicator. Pick up a strawberry in the tray’s middle and crush it between your hands. It is entirely freeze-dried if it turns into a powder and does not have any fragments of leather.
According to the theory, strawberries need longer time if they are flexible, and leathery, do not break easily, and do not become powdery when crushed.
Verify that each tray has undergone complete freeze-drying by inspecting each tray.
How to Store Freeze Dried Strawberries?
They can be kept in two different ways. either long or short-term.
Temporary Storage
The easiest way to keep freeze-dried products is in canning jars if you intend to use them frequently.
The freeze-dried food can be vacuum sealed in canning jars to extend shelf life.
First, a canning funnel could be necessary to store the food in a canning jar and make the process a little less messy.
Put an oxygen absorber at the jar’s base. Depending on how much oxygen each oxygen absorber can take in, you could require more than one. Put a packet of silica gel in the container. Any humidity in the air will be absorbed by the silica gel, keeping your freeze-dried strawberries from becoming wet and turning rotten. Fill the jar with the freeze-dried strawberries, allowing a 1-inch headspace.
How to Vacuum Seal Canning Jars?
The next step is vacuum sealing. You should go the extra mile and vacuum seal your freeze-dried strawberries to make sure they last you for approximately a year or two.
Place the lid portion over the jar without the ring to vacuum-seal the strawberry-filled container. Cover the lid with the vacuum sealer attachment designed for the jar you are using. Make sure it is snugly covering it. The instructions on your vacuum sealer should be followed.
A tube that fits the top of my vacuum sealer and connects to the jar is included. The vacuum sealer then completes the task once I touch a button on the interior.
Remove the attachment from the jar with care. You should be able to see an indentation in the middle of the jar to determine whether it is vacuum sealed. It is likely not vacuum-sealed if the center is somewhat protruding. You could also attempt to gently lift the lid without using excessive force. If it is easy to lift, it is likely not vacuum sealed, which it should be.
Conclusion
Simply put, strawberries are among the best foods. They give beauty to fruit salads and fruit platters, are useful as a garnish for breakfast or lunch, and are eye-pleasing when simply placed in bowls on the table.
They are stunning berries, in addition to being healthful and delectable.
As a result, they are the top fruit in the USA.