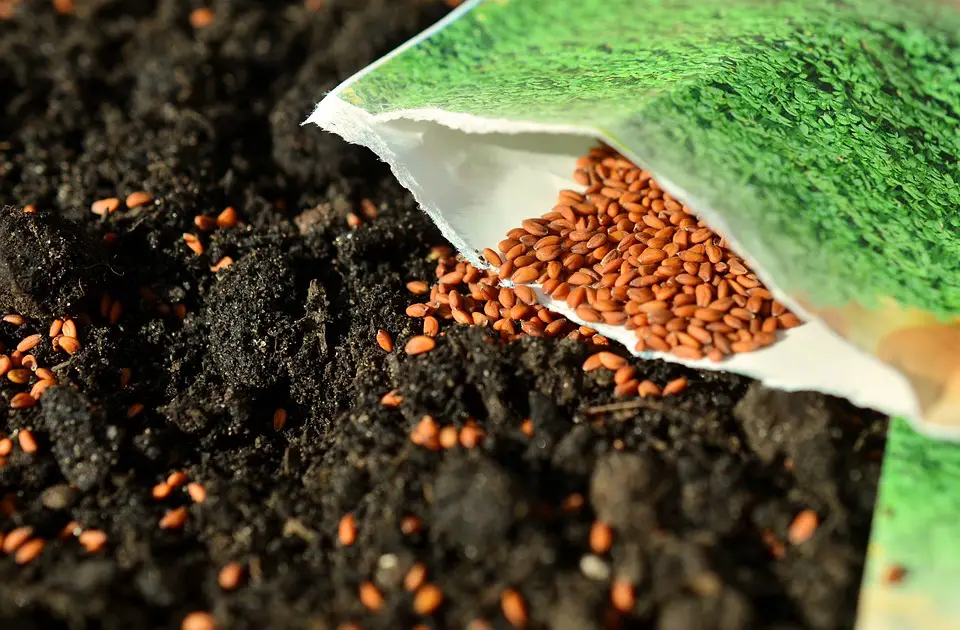
When planting season comes around, things may have changed from when we, as growers, planned our season in late fall and early winter. We might discover that from one season to the next, we have more seeds in our possession than we can plant. Because of water limitations in areas experiencing drought, some farmers and gardeners have even been forced to cancel their growing seasons completely.
We know how crucial it is to maintain the caliber of your stored organic seeds. A simple approach to guarantee that seeds that didn’t make it into the soil this year will produce robust crops in the future is to keep them viable for upcoming growing seasons. We shall discuss long-term best practices below.

What are Seeds?
An embryonic plant wrapped in a protective shell with a food reserve is called a seed. In spermatophytes, which include gymnosperm and angiosperm plants, which are seed plants, the development of the seed is a step in the reproductive process.
After fertilizing the embryo sac with sperm from pollen, creating a zygote, the ripened ovule produces seeds. A seed’s embryo develops from the zygote and expands within the mother plant until it reaches a particular size before growth is stopped. The integuments of the ovule give birth to the seed coat.
How to Store Seeds Long Term?
I discovered that preserving seeds is not dissimilar from storing food through my investigation. Heat, light, and humidity are comparable in their effects on seeds. According to some sources, oxygen poses a challenge to seed preservation.
Here are some pointers for seed storage.
- Keep seeds at a temperature of 40 degrees or lower, which is chilly to cold.
- A garage or storage space that is chilly in the winter but scorching hot in the summer should be avoided.
- Steer clear of light; never keep seeds in bright light or the sun.
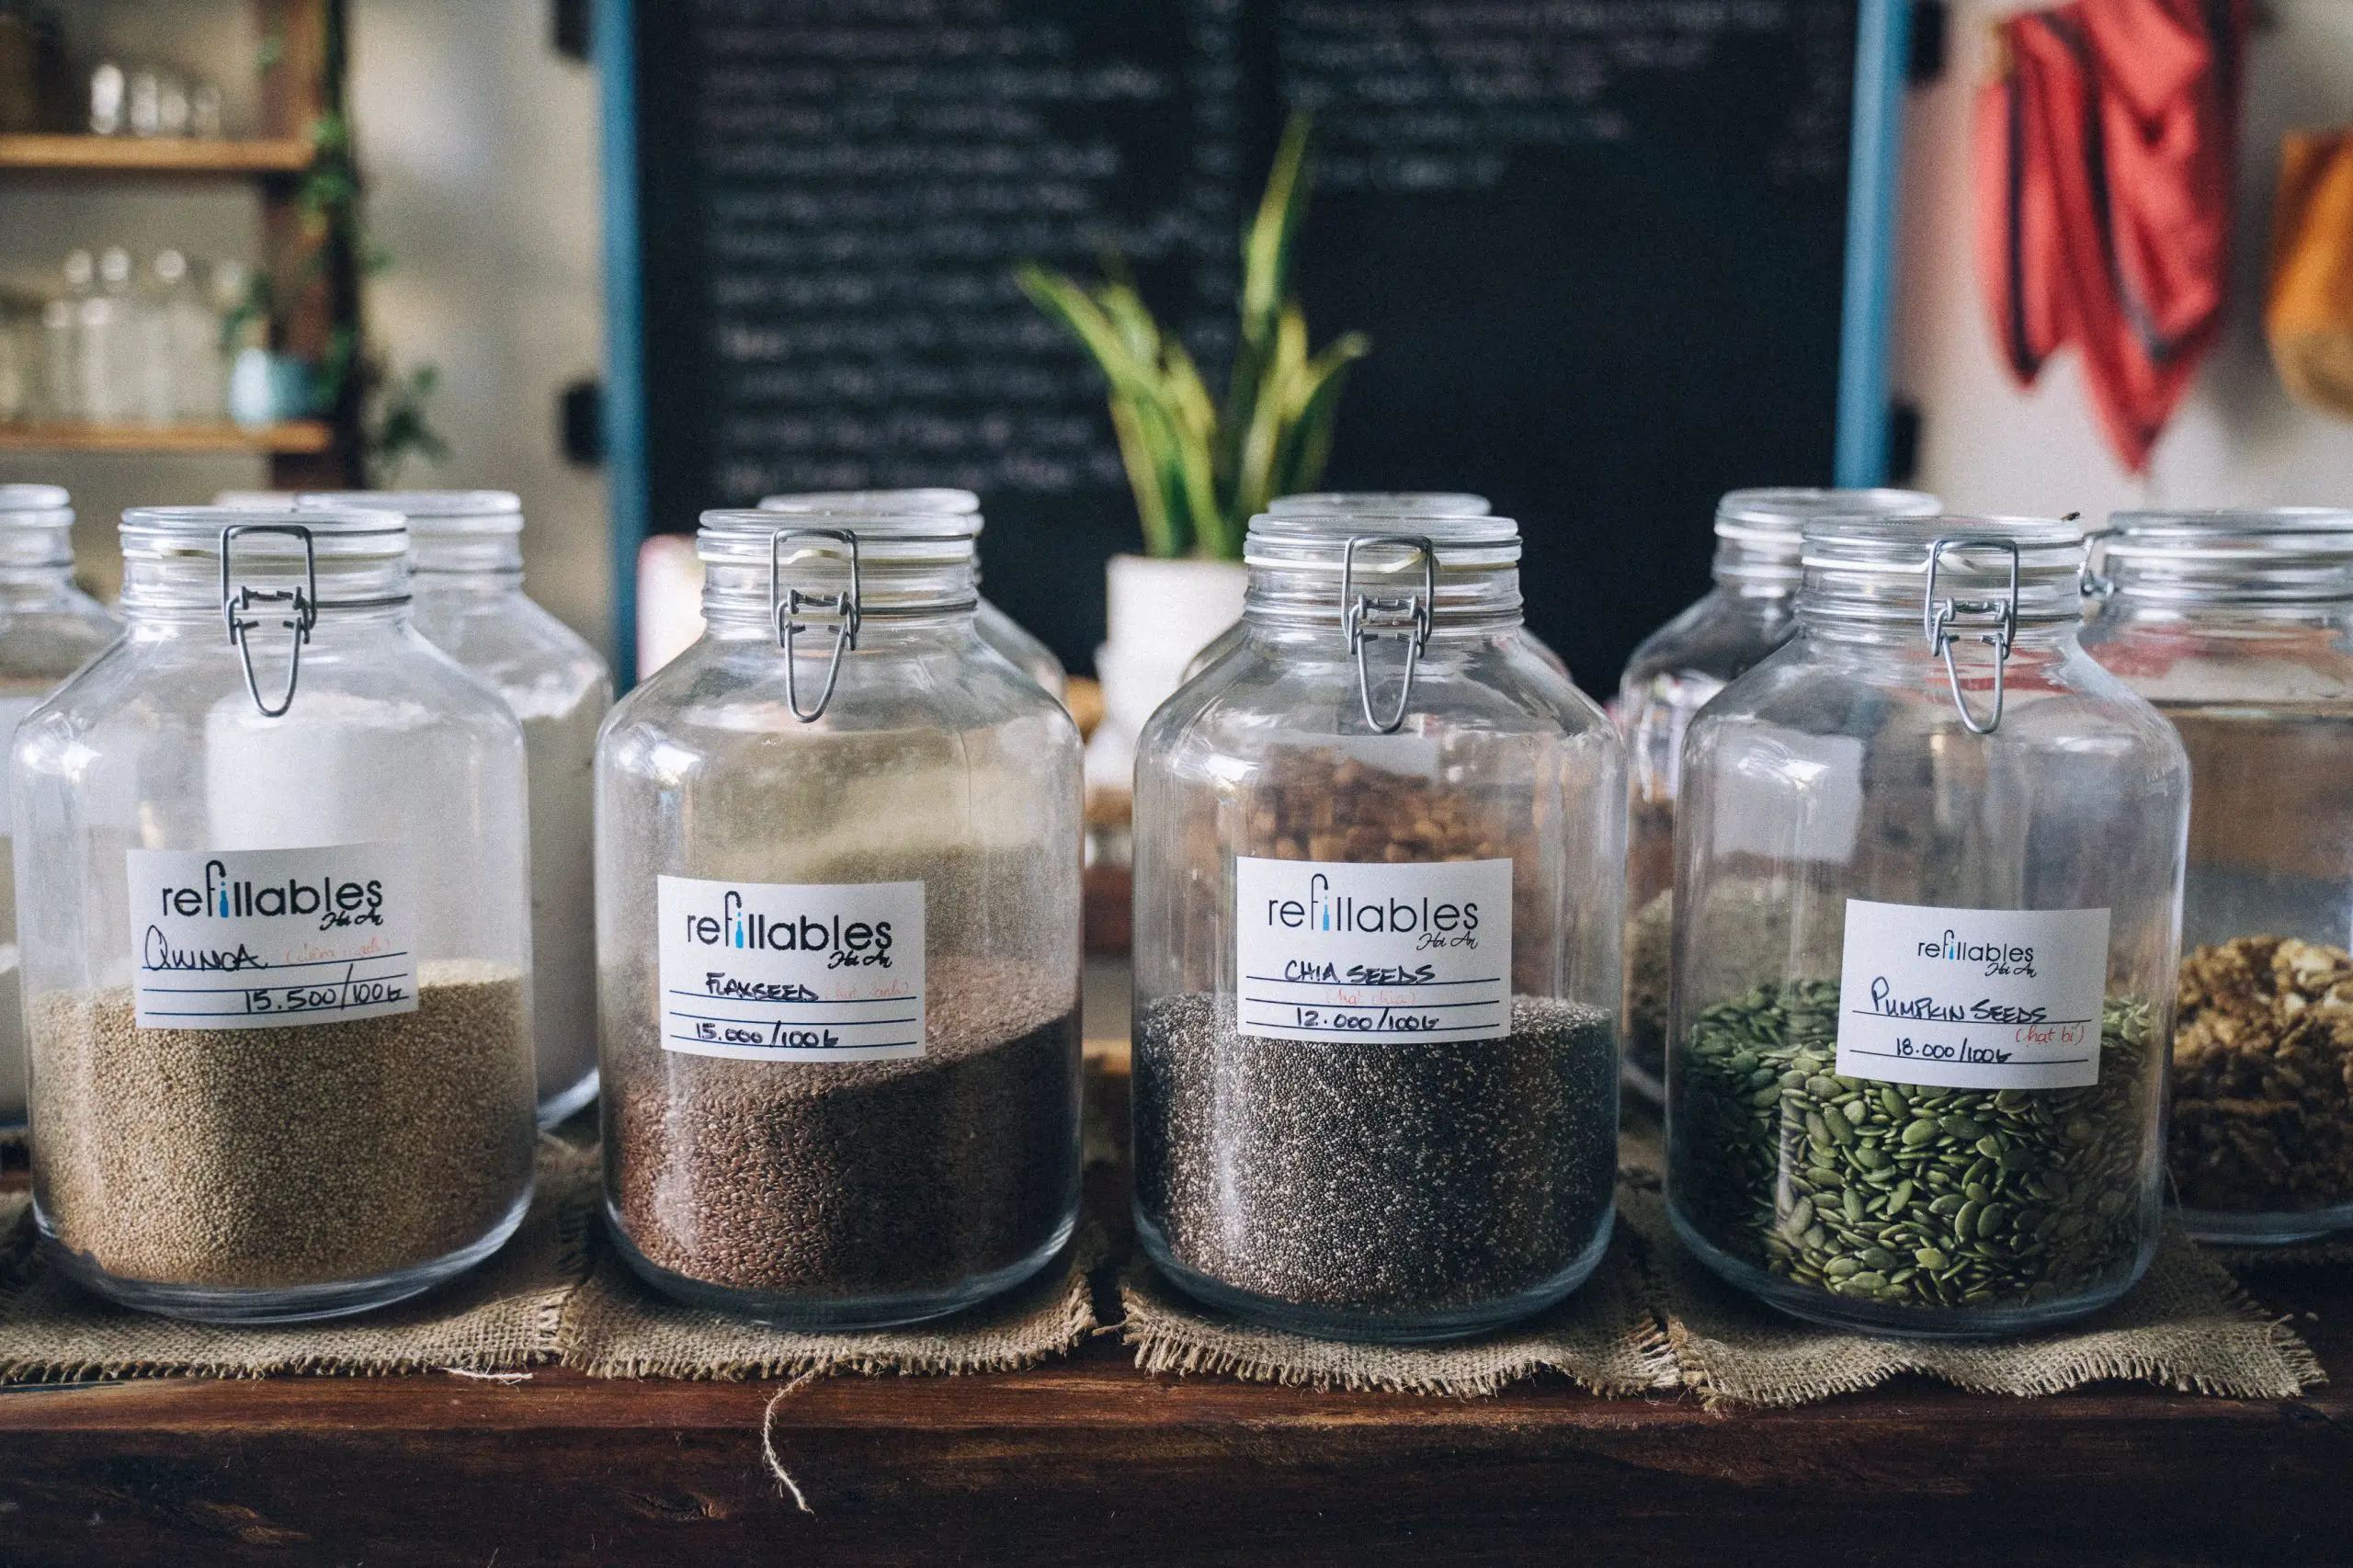
- Store your seeds in water-resistant containers. A food-saver bag, mason jar, or Mylar bag would be ideal. Even a regular Ziploc bag will function if you carefully squeeze out all the air. Check your bag after a day of storage to see how your seeds seem if you are unsure about the moisture level. It is better to be safe than to lose all your extra seeds for planting the next year.
- You can extend the life of your seeds by storing them with a desiccant (silica gel) or oxygen absorber.
- Rotate seeds every few years, just like you would your food supplies. Although it isn’t necessary, why not rotate if you’re going to be gardening?
- Until the seeds are at room temperature, store them in their closed storage container until you’re ready to utilize them. By doing so, unwelcome condensation will be avoided.
- Spread out your own preserved seeds and let them air dry before storing. After the seeds have dried, package them with labels in envelopes or even old prescription bottles. Then, like store-bought seeds, you can keep them in your refrigerator or freezer.
How to Freeze Seeds?
The method used to store the seeds is one element that affects how well they will last.
The seeds are accessible in various sizes, dimensions, and forms since plants come in various shapes and sizes.
“Cool and Dry” is the key to an effective seed storage strategy. As soon as the seeds arrive, it would be best if you store them right away while taking the following precautions:
Using Ziploc Bags to Freeze Seeds Ziploc bags are incredibly economical and effective for keeping seeds. The bags that can be sealed with a vacuum sealer are among the various possibilities available. However, we advise against using them.
Vacuuming the bag’s interior eliminates any moisture that may have allowed bacteria or even frost to form when the seeds are frozen.
Seeds in Sealed Plastic Containers for Freezing
Similar to Ziploc bags, plastic containers are another excellent choice for keeping seeds organized because they can be stacked and labeled.
This is a benefit compared to Ziploc bags, which tend to get misplaced and mixed up when stored in the freezer with other things.
Similar to bags, certain plastic containers have a vacuum seal option that provides the extra benefit of removing moisture for optimal and efficient storage.
We advise choosing vacuumed plastic kits since they are the better option to ensure seeds are stored properly for a long time.
How Should Seeds be Thawed Before Planting?
The process’s most crucial phase is this one. Because it is the stage where you will benefit from all your prior labor, it would be best if you use extreme caution.
Seed Thawing Procedure –
Place a paper towel or other absorbent material on a flat surface.
Place the seed container on the absorbent material at room temperature after removing it from the refrigerator.
Until there is no longer any condensation, let thawing. If required, dry.
Open the container’s lid once no moisture is visible (it has properly thawed).
Take the seeds out.
The seeds should be put on a different paper towel. By doing this, moisture won’t accumulate on the seeds before planting.
Immediately sow or plant.
How to Germinate the Seeds?
To increase your chances of success when starting seeds indoors, choose fresh seeds—those older than two years may not germinate—and carefully study the seed packet. Some flower or vegetable seeds may need to be started at specific temperatures. In contrast, others may need to be started earlier in the season if they have a lengthy germination time. After reviewing your germination instructions, think about taking the following general actions:
Get the seed-starting soil mixture ready. Use seedling cups, peat pots, or other commercially available seed starter kits. Alternatively, add a growth medium or seed-starting mix to paper egg cartons. Ideally, the container you use will have drainage holes.
To sow seeds, according to the instructions on the seed packet. The seeds can be placed in soil or a damp paper towel. The general rule of thumb is to sow seeds two times their breadth deep. That translates to around one-eighth inch to one-fourth inch into the soil for small vegetable seeds, such as tomato seeds. Instead of making little holes in the dirt, you might gently push small seeds into them. Larger seeds, like sunflower seeds, should be sown farther below the soil’s surface. Place the seeds on top of a damp paper towel and cover them with a plastic bag for a soilless and maybe speedier germination. This germination technique should result in tiny sprouts in less than a day.
With a lid or a plastic bag, protect the seedlings. If the seedlings are in soil or a paper towel, gently cover them with a plastic bag, plastic wrap, or a transparent plastic lid to make a little DIY greenhouse. A lid that fits over the seedling tray is frequently included in seed beginning kits sold commercially.
Position the seeds in a warm area. For the appropriate soil temperature for each plant, consult the seed packs. To keep a consistent temperature and light, position the seed tray in front of a windowsill that receives some sunlight or set the seed kits on a heating mat. Windows that face south typically perform well. Avoid harsh sunlight because it could damage the seedlings.
Growing seedlings at a room temperature of sixty to seventy degrees Fahrenheit typically results in the best results. To promote healthy seedlings in northern latitudes, you might consider using grow lights or fluorescent lighting.
Maintain a wet potting mix. Heat and steady moisture are required for seed germination. To keep the soil moist all around, use a spray bottle. Do not soak or overwater the seeds.
Thin out young plants to promote larger ones. You can transplant the sprouts into seedling kits or potting cups once the seeds germinate, and you can see little roots poking through the damp paper towel.
If your seeds were grown in soil, on the other hand, you could concentrate on trimming the seedlings once you start to see sprouts in each cup or peat pot. Keep the largest and healthiest-appearing sprouts and discard the rest. Except for one or two shoots, remove everything with tweezers. Continue to keep the soil moist, but make sure there is adequate airflow.
How to Tell Seeds are Gone Bad?
Look at the Color
The color of the seed is one of the initial visual cues. Most seeds will come in various colors, including white, yellow, and black. But it would be best if you made sure the seed is the right color for its species. Look for seeds that have either gone speckled black (which could be a sign of mold) or green (which also might be a sign of degradation).
Take a Sniff
The majority of seeds will smell earthy or woodsy. That’s typical. However, you may smell decay on seeds just like you can on fruit or vegetables. Make sure the seeds don’t smell bad or like mold or mildew by sniffing them. It would probably be best to throw them away if they do smell.
Look for Mold Indications
Examining the colors or scents, as indicated above, may reveal mold. But mold can also have a textured appearance. Raised lumps, a fuzzy covering, minute hairs, or raised speckles could be visible. All of these mold-related symptoms can be a sign that the seeds have become spoiled.
Examine Any Indicators of Excessive Drying
While discoloration and mold may be signals that the seeds have been exposed to moisture, there are other symptoms to watch out for that may indicate the seeds have dried out past the point of being useful. This may occur if the seeds are improperly packaged, kept, or left in an overly heated environment. Keep an eye out for brittle shells, slivering, or even a look of withering.
We demonstrate a synchronization effect even for complicated, biologically relevant systems. Recent studies have demonstrated that stochastically thermostatted trajectories growing within a single potential basin with identical random number seeds tend to synchronize. The simulations of alanine trimer and pentamer and the simulation of a temperature-jump experiment for peptide folding of a 14-residue peptide serve to illustrate this effect. We observe partial synchronization when the same random number seed is used, even in replica-exchange simulations where the trajectories are at different temperatures. We do this by applying the recently developed synchronization effect derivation for two trajectories in a harmonic well when the trajectories are at two different temperatures.
Conclusion
The best place to store your seeds is a cool, dark room. The optimal conditions for seed storage are 60 to 65 degrees Fahrenheit. The cooler temperatures promote the rapid growth of your crop. A cool, dark closet is the way to go for short-term storage. For longer-term storage, a temperature-controlled warehouse is a good bet.
There are plenty of pitfalls to avoid when it comes to seed storage. It’s best to store your seeds in a sealed, airtight container. The container can be as simple as a zip-closed bag with all the air pressed. The trick is to keep it out of the sun as much as possible. The sun’s rays can cause many problems for plants and crops alike. The key is to ensure your prized possessions remain fresh and healthy. If you have an indoor or outdoor garden, consider protecting your seeds from the elements by planting them in a shady location.
