How long can you freeze bread? The answer varies from one type of bread to another. The average loaf of bread lasts two to three days before it starts to go bad and even starts to mold. If you’re freezing artisan bread, be sure to slice it before you place it in the freezer. If you’re freezing store-bought bread, place it in a plastic bag and freeze it, which will keep it fresh for a few weeks.
For longer storage, double wrap a loaf of bread in plastic wrap or a reusable plastic bag. This helps keep the bread fresh, and you can even freeze up to 3 months of bread. Ideally, you should use the bread within the first month. However, if you are unable to finish a loaf within this time frame, the bread can be frozen for up to 8 months. Listed below are the benefits of freezing bread.
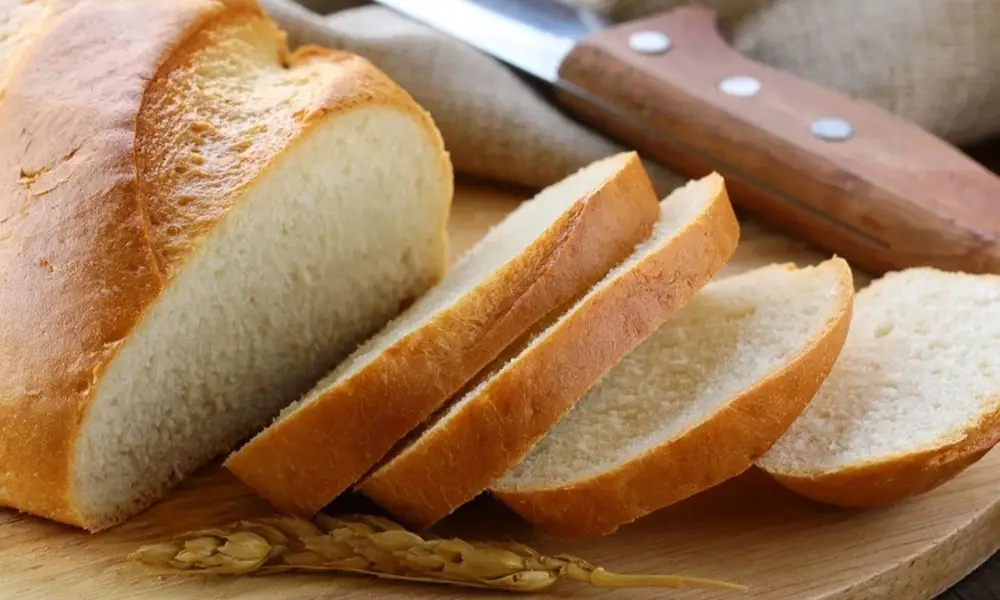
How Long Can You Freeze Bread
For up to a month in the freezer, bread that has been single-wrapped keeps its quality. You must double-wrap it if you plan to store it for a longer period of time, such as many months.
In the freezer, bread may easily last three months, and if it’s a good loaf that you’ve wrapped well, it may even last much longer. Similarly, similar baked foods like hamburger buns (how to freeze hamburger buns) can be frozen.
Please keep in mind that while bread will never go bad in the freezer, the quality may noticeably decline after about six months.
How to Heat Up and Defrost Bread?
Here are some options for defrosting that I suggest:
Use a toaster to toast the slices and thaw them out. You don’t need to prepare for it, it only takes a few minutes, and it is easy. You might need to set your toaster on a higher setting and the bread will take a little longer to defrost and warm up, but that’s about it.
Slices can defrost on a counter. For this, you must remove the slices from the freezer 20 to 30 minutes prior to using them. As if you were constructing a house of cards, defrost them spread out and leaning against one another.
Slices defrost the quickest when the area exposed to warm air is at its highest.
Actually, if you want bread toasts, you only need the first choice. I always use this approach and am really pleased with the way the bread comes out. Sliced zucchini bread and frozen baguette slices can also be reheated in a toaster (if you like them warm).
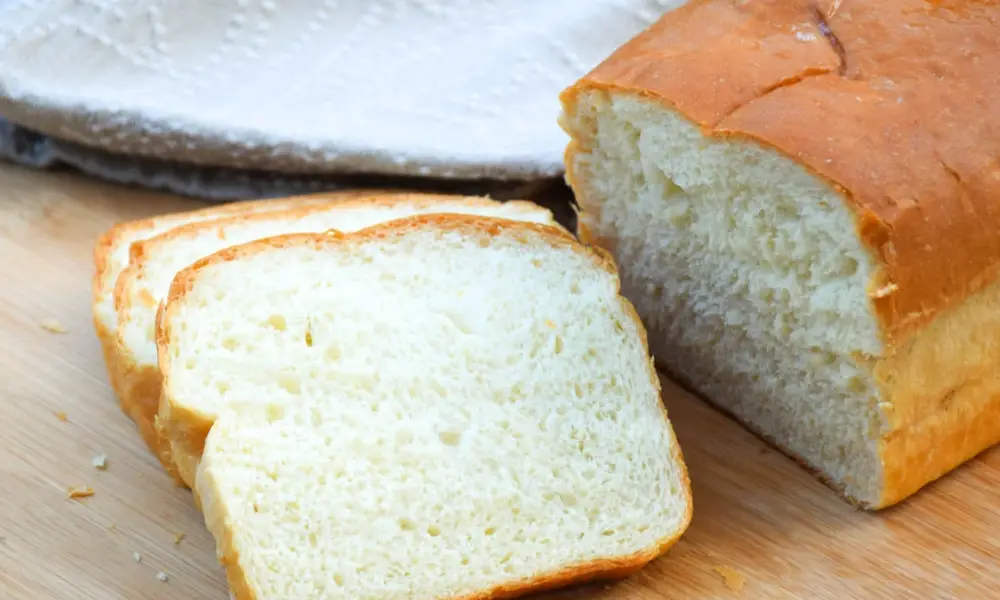
White Bread: How Is It Made?
In a large mixing bowl, first combine the warm water, honey, and one tablespoon of sugar. Wait for 5 to 10 minutes after adding the yeast for the mixture to start bubbling and foaming. If the yeast isn’t foaming, you must start over with fresh yeast.
If the yeast in your mixture doesn’t foam, the water was either too hot or it was probably too old (or it could be both). As terrible as it may sound, it’s not. In my entire life, I have never encountered yeast that doesn’t foam.
To the proofed yeast, add the remaining sugar, 2 cups of flour, oil, and salt. Using the dough hook of your mixer, continue mixing after fully blending by adding the remaining flour, one cup at a time. After you’ve included all the flour, knead the dough for 5 to 7 minutes at medium speed, or until it is nice and smooth and pliable and the basin’s sides are clean.
Alternately, you may do this by hand by kneading the remaining flour in by hand after mixing it in with a sturdy wooden spoon up until that point.
I always like to turn my dough out onto a lightly floured surface for the final minute of shaping it into a smooth ball because, with practise and time, you will get to know the feel of your bread dough. This dough should be incredibly workable and not too sticky as long as your hands are dry. Add more flour to your hands and work surface if the dough is sticky and knead it until it is workable.
Transfer the dough to a clean bowl (or the bowl it was in before) that has some oil in the bottom. The dough should be rolled over and lightly coated in oil before being wrapped in plastic wrap or placed in a clean dish.
Ingredients
2 cups of warm (around 110 °F) water, 1/3 cup of sugar, and (67g)
two tablespoons of honey
125 ml of dried active yeast
1/4 cup of vegetable or canola oil
1 1/2 tablespoons of salt
5.25 to 6.25 cups scooped and leveled bread flour (846g)
Use two tablespoons of salted butter to brush or massage on top of the baked loaves.
Instructions
Using the dough hook attachment on a stand mixer, combine the yeast, warm water, sugar, honey, and other ingredients. Until foamy, let the yeast proof for 5 to 10 minutes.
Add the salt and 2 cups of flour once the yeast begins to bubble, and stir well. One cup of flour at a time should be added as you continue to knead the dough on medium speed for about 5 minutes, or until it is smooth. You may also do this by hand for 7-8 minutes if your mixer doesn’t have a dough hook attachment.
Transfer the smooth, elastic dough to a big greased basin, flipping the dough as you do so to give it a light oil coating. The dough should double in size after about an hour of rising while being wrapped in plastic wrap.
When the dough has risen, punch it down (literally, make a fist and push it once or twice right in the center of the risen dough). The dough should be divided in half, formed into two oblong logs, and shaped into loaves. Each loaf should be put into two oiled 9-by-5-inch bread pans. Loosely cover with plastic wrap or a clean cloth, and let the loaves rise for 30-45 minutes, or until the dough has risen to a height of about 1 inch above pans.
When the dough is almost ready to bake, preheat the oven to 350°F. Cook for 28 to 30 minutes, or until the top is golden brown. The loaves should sound hollow when you thump them, and a digital thermometer inserted into the center of each loaf should read 190°F.
Brush melted butter over the top of each warm loaf of bread using the manner that works best for you before transferring it to a clean surface or cooling rack. Sandwiches can be made using sliced bread and butter, honey, or jam.
Advice for Baking Perfect Bread
To guarantee that milk and water are used at the proper temperatures, always prepare pans and gather utensils before baking bread.
Using a kitchen thermometer is the best way to determine the optimum temperature of the milk and water before combining them.
Allow the bread to cool in the pans until it is warm to the touch before removing it.
Remove from the pan and let cool completely on a wire rack. If the bread is allowed to cool in the pans, moisture will condense there.
Suggestions for Serving
Slices of warm, freshly baked white bread taste great with a pat of buttery softness or when lightly toasted in ghee.
Toast some bread and spread it with jam, avocado slices, or your preferred nut butter for a tasty snack.
The possibilities for sandwiches made with handmade bread are only limited by your imagination! Start by perusing my list of the 40 Best Sandwich Recipes.
How to Spot a Bad Loaf of Bread?
You should avoid eating stale bread. Not only is it disgusting, but it may also be harmful to your health. The good news is that your bread can be tested using a number of different methods to see if it has gone bad. Let’s look into it more.
The Mold is Growing on Your Bread
Nothing is more disgusting than finding mold on a loaf of bread that was once beautiful. Molded bread shouldn’t be consumed, regardless of color (pink, green, brown, black, or white). It would be beneficial if you didn’t try to discard the moldy slices and save the rest of the batch.
Even though part of the “safe-looking” bread has mold spores in it even though they haven’t yet revealed themselves, you’re still consuming them. As a result, the bread serves as a sponge. Mold spores can spread throughout the bread if they are discovered in one place, while other slices may take longer to develop visibly moldy areas.
Bread with mold is typically identified by its fragrance, and it may have a white, yellow, or black appearance. Although the mold is mostly safe, it can be dangerous if eaten or inhaled. Throw away any moldy bread you find right away! Don’t squander your money if the bread has mold on it! Instead, be sure to get fresh, mold-free bread!
There is a Strange Odour.
After all, bread should smell like bread. There isn’t much of a distinctive flavor unless you’re dealing with a loaf of bread that has been flavored with things like raisins, lemon, rosemary, etc. Bread that smells strangely has gone bad and should be thrown away. Poor bread frequently has a vinegary or beer-like aroma that is unrelated to the type of bread you are currently eating. It can also occasionally have an odd and unpleasant odor. If the bread has mold on it, do not smell it. I don’t think many people enjoy the smell of mold, but some people might. However, breathing in mold spores unintentionally can occur when bread smells stale.
It Tastes Bad.
Don’t be scared to consult your taste buds for a second opinion if your nose isn’t cooperative. Your taste receptors are really good at identifying spoiled food when it comes to eating. It’s also a frustrating experience. Poor bread will be unpleasant to consume. Although it won’t be as unpleasant as biting into a rotting chunk of flesh, you will be able to immediately taste how unpleasant it is. If you taste something odd, don’t conceal it with French toast or grilled cheese. Purchase a fresh loaf of bread for your breading tasks for a little bit more money.
Reference: Automated inspection of bread and loaves
What Occurs if You Consume Expired Bread?
Most of the time, nothing will happen, especially if you simply eat a small amount. When eating stale bread, mold was a concern. Despite being unpleasant, mold rarely leads to illness. That does not mean it cannot be conceivable. Digestion issues including vomiting and diarrhea are typical. If the bread is mold-free and over its expiration date, you can still consume it. To use it in cooking if it’s dry, toast it or make bread crumbs out of it. It could taste stale if consumed raw. Although it is unlikely that you would enjoy it, as usual, you won’t get hurt.
Conclusion
First, make sure to use the bread you’re freezing. Most pieces of bread last for just two or three days before they start to smell stale. However, bread can develop mold if you don’t eat it within six months. For best results, slice the bread before freezing. Also, toast frozen bread instead of reheating it. Toasting bread will prevent the bread from acquiring unpleasant flavors. If you plan on using the bread within three months, it’s wise to wrap it properly in plastic wrap.
Once cooled, place the bread in a plastic bag or a resealable freezer. Seal it well and remove any excess air. You can freeze bread for up to 3 months. You can also toast it before storing it. After storing, you can enjoy your fresh bread whenever you want! The bread will keep for months without being damaged. If you’re in a hurry for bread, sliced or homemade, you can always freeze the dough and toast it when needed.