When preparing your royal icing, you’ll probably want to know how to store it properly. Luckily, there are several ways to store it, including using a vacuum sealer and freezing cookies. This article will help you store royal icing safely for up to two weeks. We’ll also cover how to add more confectioners’ sugar if the icing is too thin. Keep reading for more tips and tricks!
Royal Icing: What is it?
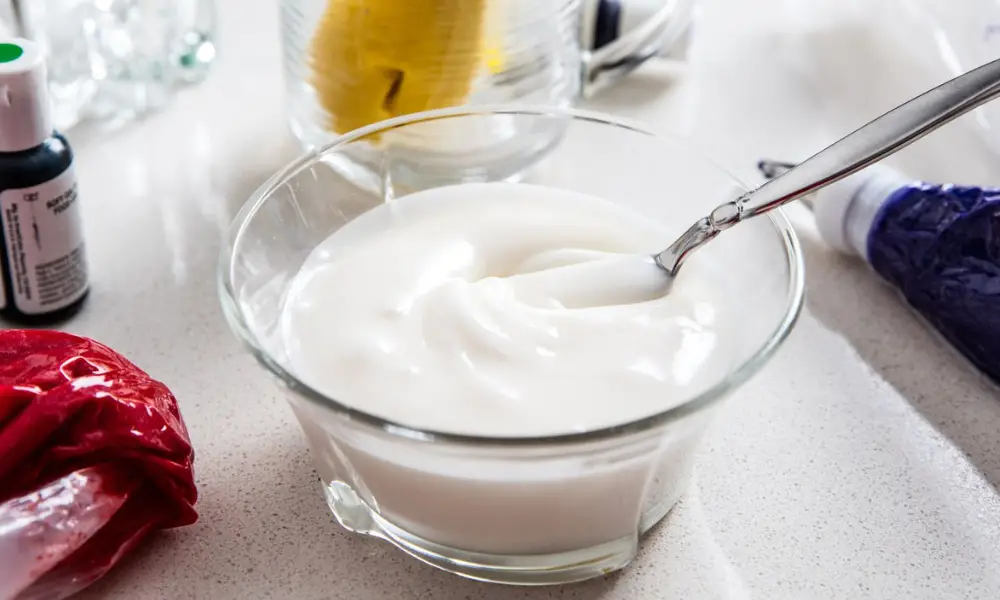
The egg white and confectioners’ sugar frosting known as royal icing spreads easily and hardens to a consistency like candy.
Royal icing is used to decorate anything from exquisite wedding cakes to cookies and gingerbread buildings due to its strength and smooth appearance.
The royal frosting is white in its most basic form. To embellish Christmas-themed foods, it is frequently colored red or green. At least as far back as the 17th century, royal icing was used.
There is a story about how it earned its name, which is interesting to explore even though it is probably untrue: It was referred to as “egg white icing” before the mid-1800s. Before being used to adorn Queen Victoria’s wedding cake, it was not considered regal.
How to Store Royal Icing?
Fast drying royal icing is both a blessing and a curse when it comes to baking. The royal icing will firm in about a minute or two if you pipe some squiggles or lines onto the cookie using a piping bag filled with the icing. This means there is little to no room for error, which is perfect if you want to eat immediately away. A mixing dish of royal icing made with meringue powder will also begin to dry at the same time. So how should leftover royal icing be stored?
If you won’t be using the icing right away or if the project will take a while, keep it covered with plastic wrap or a moist towel to prevent drying out.
The frosting in the mixing bowl needs to be wrapped in plastic wrap in between decorating. “This entails putting the plastic wrap up against the surface… To ensure that it maintains the correct texture, we want to cover it directly with plastic wrap and ensure that it doesn’t receive any significant exposure to air. If it is exposed to enough air, it can set in your bowl.
It is claimed that leftover meringue-based royal icing can be kept for up to two weeks at room temperature. When you’re ready to decorate once more, beat your royal icing with a hand mixer or stand mixer at a low speed to make it smooth and shiny once more. Store your royal icing in an airtight container.
How Long does it Take for Royal Icing to Dry?
Royal icing needs six to eight hours to dry completely. Let your cookies lie at room temperature after you flood, spread, or pipe them onto them. If you’re not careful, royal icing will begin to dry in the middle of use. Keep your icing covered with a damp cloth while you work on your decorations to prevent hardening, and give it a good stir occasionally. If additional water is required to get the correct consistency, add one or two drops.
How to Make Royal Icing at Home?
Ingredients:
- 2 cups of sugar for confections
- 1 large egg white or the same number of dried egg whites
- 1/2 tsp. of water
Directions:
The sugar, egg white, and water should all be combined in a big basin. With a wooden spoon, combine the ingredients and stir for about 2 minutes, or until the icing is smooth and thickened.
The frosting can be stored in the refrigerator in an airtight container for up to two days. Use a fork to beat it before using. If it seems overly thick, stir in very little water.
Tips
Simply adding water (or lemon juice) will thin royal icing; adding confectioners’ sugar will thicken it. Before choosing whether to add more, add liquid or confectioners’ sugar in small amounts, such as 1/2 teaspoon at a time, and carefully combine. For “flooding” cookies with royal icing to create a backdrop, use thinner, spreadable royal icing; for “piping” lines and rosettes, use thicker royal icing.
A few drops of food coloring can completely cover your royal icing in any color of the rainbow, making it colorful. Just bear in mind that a little bit of coloring can go a long way; if the color isn’t as intense or dark as you’d like, remember that it will become darker as the icing dries.
What are the Usages of Royal Icing?
Finishing your design before the royal icing dries is the most challenging aspect of utilizing it.
Keep the icing wet until you’re done using it because as it dries, it hardens and gets harder to work with. This can be accomplished using a damp cloth or by intermittently stirring in a few drops of water.
Plan your baking endeavors properly because royal icing needs 6 to 8 hours to thoroughly dry.
If My Frosting is Too Thin, How Much Powdered Sugar Should I Use to Thicken it?
It depends on how much icing you have and how thin your frosting is. You might need to add 1-2 cups of powdered sugar to a batch of really thin, watery icing to get it to the right consistency. Or perhaps all you need to do is add a teaspoon more to achieve the ideal consistency.
Always add a bit at a time, is my advice. You don’t want to thicken the mixture too much by adding too much-powdered sugar and then having to add more water.
If My Icing is Too Thick, How Much Water do I Need to Add?
It depends on how much icing you have and how thick your icing is. If you have a large quantity of very thick icing, you might need to add 1-2 cups of water to thin it out to the proper flooding consistency. Or perhaps all you need to thin it down sufficiently is a couple of sprays of water from your spray bottle. If you simply need a few drops of water to thin down a small bit of icing, you can accomplish it.
Always add a bit at a time, is my advice. You don’t want to dilute it too much and then have to add additional powdered sugar to make up the difference.
What are Different Consistencies of Icing?
When decorating cookies, I use three different consistencies. three types of consistency exist firm, medium, and flood. The proportion of water to powdered sugar differs for each of the three consistencies, but all other ingredients are the same. More water is added to thin the icing down, and more powdered sugar is added to thicken it.
Flooding Consistency
This is the icing’s consistency that is utilized to make the incredibly smooth icing layer on cookies. When I create a batch of royal icing, it has this consistency when it is removed from the mixer. Some cookie decorators start with stiff icing and then thin it down; I, however, start with a flooding consistency and thicken it as necessary because I use flooding icing the most and because flooding a cookie is frequently the first step in decorating a cookie.
Flooding icing should have a consistency like honey. Flooding icing should be slightly liquid but not watery, and it should be just thick enough to smooth out without being too thin to drip off your cookie. Simple, right?
Medium/Detail Icing Consistency
I use icing of this consistency to pipe flowing letters and outline details. I also use this consistency for happy mouths and eyeballs. This frosting should have the texture of soft-peak beaten egg whites. I’ve also compared it to toothpaste’s consistency. You can use a scribe tool to smooth it out, but it should retain some of its original shapes and not spread.
Icing with a Firm Consistency
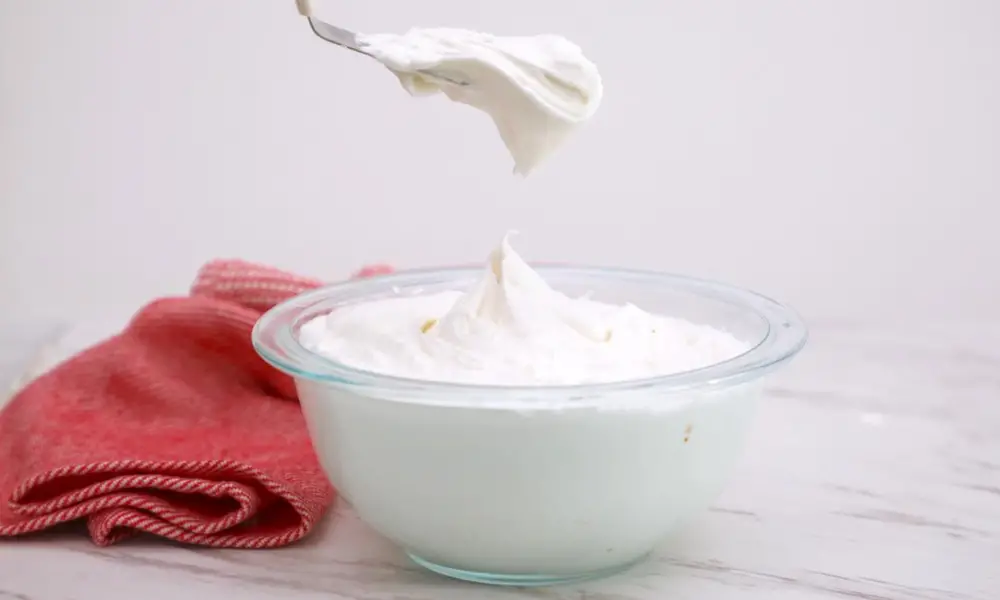
The consistency of stiff icing should resemble that of stiff-peak beaten egg whites. Although it can be spread, it can also keep its shape. I use this icing to pipe shapes like flowers and foliage as well as to create ruffles, basket weave designs, and brush stitching.
How to Evaluate the Royal Icing’s Consistency?
Making the foundation icing and then gradually adding water to it will allow you to determine whether the consistency of your royal icing is appropriate for your intended use.
You have more control over how much water you apply when you use a spray bottle.
Base icing is the dense icing that is thinned out with numerous little additions of water to create a usable consistency.
Drag a knife across the surface to check the Royal icing’s consistency after adding water, and note how long it takes for the line to disappear.
To pipe, allow 25 seconds.
15 seconds for outlining
10 seconds for floods
Additionally, flowers can be piped using the Base Royal Icing. Glucose is used to cover a cake after being added. (Glucose is added to stop it from hardening too much.)
Over-mixing royal icing can result in issues that you might not be able to fix.
How to Stop Air Bubbles from Forming in Royal Icing?
Put the ingredients for the royal icing in the bowl of your mixer, reduce the speed to the smallest setting, and mix until stiff peaks form. By doing it in this manner, you can prevent the icing from containing too much air.
After mixing, protect the icing’s surface with a piece of plastic to prevent drying. Before using it, let it sit for a few hours to let air bubbles rise to the top. Then, gently mix it, making sure to pop any large air bubbles, and it will be ready to use.
You don’t need to let it stand for as long if you created the royal icing by hand (without using a mixer), as there won’t have been as much air added.
There are a few things you can do to stop this from happening if you see that your royal icing has craters or pits on the surface.
What Causes My Royal Icing to Crater or Pit?
Air bubbles that pop when the icing dries generate pitting or cratering. It occasionally happens when using royal icing to coat cookies or do flood work for cake decorations. A cake’s smooth Royal icing coating may also cause it to happen.
Use the lowest speed on your mixer while making the icing and avoid making it too thin because it is brought on by adding too much air.
Before using the icing, give it a little stir and remove any visible air bubbles.
Draw a toothpick through it if you used it for flood work to remove any air bubbles that might be present underneath the surface.
Conclusion
Once your icing is complete, you can freeze them for later use. Before freezing your cookies, make sure that the icing is 110% dry and hard. If you have royal icing on the cookies that you do not plan to decorate immediately, you must let it dry completely before putting them in the freezer. Place the cookies in the freezer at least one hour before decorating. If you plan to decorate them within one hour, you need to place the cookies on a cooling rack.