When it comes to frozen pears, it’s important to have them prepared properly. In this article, you’ll learn how to prepare pears for freezing. In addition, we’ll discuss how to preserve pears in water or syrup and how to use natural fruit juices to preserve them. Here are a few tips:
Preserve the ripe fruit in the freezer if you want to enjoy pears’ delicate flavor throughout the year. You must peel the pears and soak them in vitamin C to preserve their color and texture. Once you’ve decided, determine if you want to freeze them in dry chunks or process them in a sweet syrup. In either case, you’ll enjoy ripe, delicious pears as payment!
How would You Describe Pear?
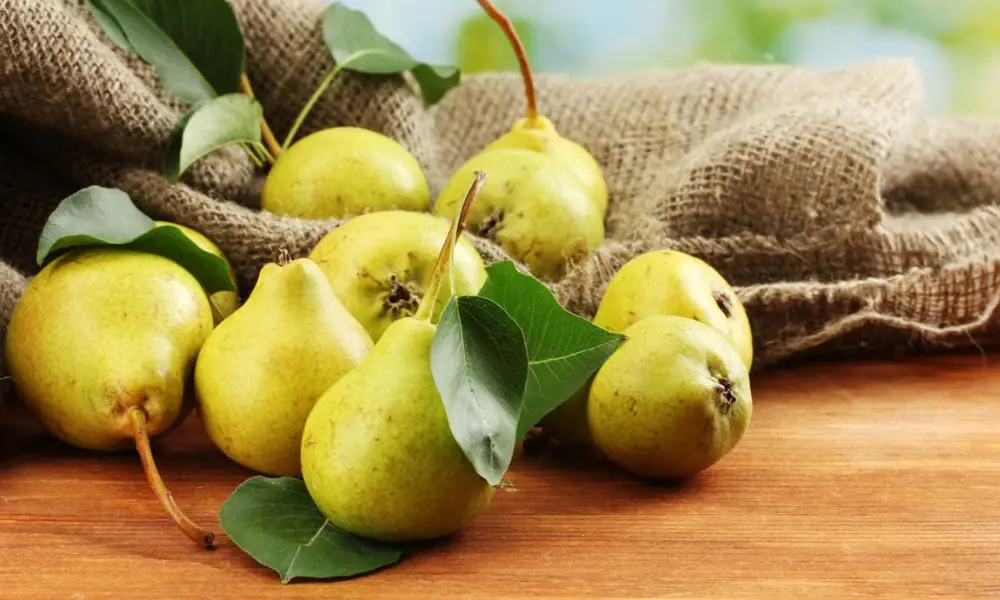
The fruit known as “pears” is edible on the same-named tree of the rose family. Its bell shape is notable, with a broad bottom and a tapering top, as well as its tasty meat and thin exterior skin. Because pears are mostly water, dietary fiber is the key nutrient.
A few fruits, such as pears, are better when picked before fully mature. Pick up firm pears from the grocery store, then let them ripen in a paper bag. If you require ripe pears for a particular event, get them in advance to get frozen Pears.
How to Freeze Pears?
Selecting and Preparing Pears
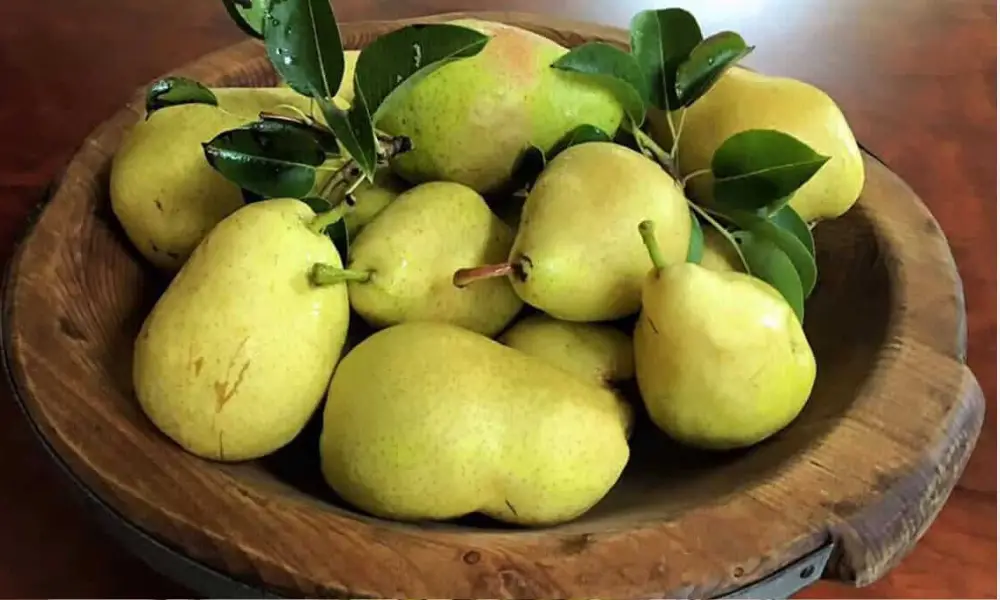
Choose or buy ripe pears. Gently pinch a pear’s neck to see if it’s ready to be picked or purchased. It should have some squishy flesh near the stem. If the pear is too challenging, try another one.
- Avoid pear varieties that have soft centers because they are likely already mushy.
- Pears should be washed and peeled. To remove dirt, hold the pears under lukewarm running water. After that, set them on the counter and peel the peels off using a swivel or Y-peeler. The peels can either be thrown away or used to flavor liquor.
- The pear is generally too ripe to freeze if it is too mushy to peel.
- A pear should be split lengthwise in half using a knife. Slice each pear in half, then remove the core. The core with the seeds can then be removed using a spoon or melon baller. The stem can also be pulled off. For every pear, you want to freeze, repeat these steps. As you remove the core from the pear, be careful not to remove too much fruit from the center.
To keep the pears from turning brown, soak them in a vitamin C solution. 1 teaspoon (2 g) of crystalline ascorbic acid (vitamin C) should be placed in a big container. Add 1 gallon (3.8 L) of cold water, then whisk to dissolve the vitamin C. Then, incorporate your peeled pears into the remedy.
While you make the syrup, let the pears soak. Soak the pears for at least 10 minutes if you plan to dry pack them rather than make syrup. Crush six 500-mg vitamin C tablets if crystalline ascorbic acid is not available.
Pears in Syrup After Freezing
- Put the pears, sugar, and water in a saucepan. The syrup can be made to be as sweet or as thick as you like. In a big pot, combine the syrup ingredients and all the pears you want to freeze.
- Use one and a half cups (333 g) of granulated sugar and four cups (950 ml) of water to make a light syrup.
- Use 4 cups (950 ml) of water and 2 to 2/3 cups (533 g) of granulated sugar to make a medium syrup.
- Use 4 cups (800 g) of granulated sugar and 4 cups (950 ml) of water to make heavy syrup.
- For one to two minutes, boil the pears in the syrup. Gently whisk the mixture while increasing the heat to medium-high. As the water starts to boil, the sugar should dissolve. Give the pears one to two minutes to simmer in the syrup. If foam rises to the surface, you can skim it off.
- Once the pears are cool, could you place them in the syrup to chill? Place the pot with the pears in the refrigerator after turning off the flame. If you want them to cool more quickly, you may transfer them to a separate container. Put the pears in the fridge to cool the fruit and syrup.
- After the pears have cooled, place them in clean, freezer-safe containers and top them with syrup. After filling your containers, leaving 1/2 to 1 inch (1.3 to 2.5 cm) of headroom. You should provide 1/2 to 1 inch (1.3 to 2.5 cm) of headspace if you use wide-mouthed containers. Leave a headspace of 3-4 to 1- 1/2 inches (1.9 to 3.8 cm) if you use narrow-top containers. Before sealing the containers shut, don’t forget to wipe their rims.
- The pears can be kept for up to 10 to 12 months in labeled containers. To let you know that each container contains pears, write a permanent marker label on each one. Next, note the day you first froze them.
- When it’s time to defrost the pears, move a container from the freezer to the refrigerator, where it should spend the night defrosting.
Pears Packaged Dry
- Use parchment paper to cover a sheet. A baking sheet that will fit comfortably inside your freezer should be brought out. A parchment paper sheet can be torn off and placed on the sheet. The pears won’t freeze to the parchment paper due to the silicone in the paper. A silicone baking mat can be used in its place if you don’t have any parchment paper.
- Use a slotted spoon to remove the pears from the vitamin C solution if you only freeze a few pears. Place a filter in the sink and pour the pears into it slowly to drain a lot of pears. Then, position the pears on the parchment-paper-lined sheet with at least 0.64 cm (1/4 inch) between each one. The pears should be drained and placed on the sheet.
- The pears will freeze in a hard-to-break clump if they are touching when they are frozen.
- Until they are firm, freeze the pears on the baking sheet. Place the sheet in the freezer and wait until the items are completely frozen. This could take an hour and two hours, depending on the size of the pear pieces.
- The pears on the baking sheet may stay in the freezer for the entire night.
- Place the frozen pears in freezer bags that can be sealed. Any size freezer bag can be used as long as it seals well. The frozen pears should be filled to the top of the bag, and before you seal it, try to remove as much air as possible.
- Consider separating the pears into various bags if you plan to use them for various things. Fill a couple of sandwich bags with frozen pears, for instance, to make it simple to swiftly portion out fruit for a smoothie.
- Pears can be kept in the freezer for up to 10 or 12 months if the bags are labeled. Write the contents of the bags and the date you processed the pears on the bags with a permanent marker. After that, freeze the bags of pears and consume them within 10 to 12 months.
- The pears can either be defrosted overnight in the fridge or used right away.
Are Pears Required to be Refrigerated?
The ripening process will be slowed down by refrigeration but not completely stopped, giving you enough time to use fresh pears in your cooking. Don’t keep an unripe pear in the refrigerator since pears must ripen at room temperature.
The ripening process will be slowed down by refrigeration but not completely stopped, giving you enough time to use fresh pears in your cooking. Don’t keep an unripe pear in the refrigerator since pears must ripen at room temperature.
What Kind of Pears is Healthiest to Eat?
Since the time of the Romans, who introduced pears throughout their empire, pears have been a well-liked fruit throughout the West. There are thousands of kinds, but just a handful are significant economic crops. Some are excellent for canning, others work better in the kitchen or the oven, while others are better eaten fresh off the tree.
Even though the term “best” is subjective, fresh pears are typically the tastiest and juiciest, with a smooth texture as opposed to a gritty one. Asian pears are the tiniest sweet, and Bosc pears are the sweetest.
The other pears would probably taste similarly sweet, even though an Asian pear has a less sweet flavor.
What Advantages do Pears have?
Pears pack a powerful nutritional punch of antioxidants, phytochemicals, and dietary fiber into a 100-calorie, fat- and cholesterol-free package. Pears may aid in weight loss and reduce the risk of diabetes, cancer, and heart disease when consumed as part of a healthy, balanced diet.
The red Bosc pear, the red and green D’Anjou pears, and the Bartlett, Forelle, and Concorde pears are the pear kinds best suited for baking. These pears are the best to cook with or bake since they maintain their shape and flavor even when heated to high temperatures.
Pears are rich in fiber, which keeps you satisfied and maintains the health of your heart and intestines. Pears contain no added sugar and have an exceptionally low-calorie count. Pair your pear with a protein source like cheese or nuts for a well-rounded, nutrient-dense snack.
Reference: Systematic Review of Pears and Health
Conclusion
If you’re planning on freezing pears, it’s best to prepare them first. To ensure they won’t stick together, sprinkle them with sugar and let them sit for 10 to 15 minutes. Then, pack them into freezer containers with at least one-half inch of headspace. Afterward, wrap them in crumpled parchment to prevent browning. Once frozen, they’ll keep their crisp texture for many months.
Rinse the pears thoroughly under cold water to make the process even easier. Next, slice them into quarters or halves. You can then slice the pears into thirds. Place them on a baking sheet lined with a silicone mat. Do not place them on the baking sheet without lining it. Otherwise, you’ll end up with difficult pieces to scoop out. Arrange them in a single layer but do not overlap them. Please place them in the freezer for about three to four hours.