A crucial ingredient in many cuisines is fresh dill. Its primary function is in pickling, but it also plays a supporting role in sour-cream dips like dill dip and other sour-cream dips. Along with many other delicious uses, it’s frequently used as a seasoning for salmon and other seafood, in potato salad and ranch dressing, to spice up fried chicken nuggets, and as a way to make cottage cheese taste better. Due to its potent flavor, you should use a tiny amount at a time. It costs a lot to buy, but it’s inexpensive and straightforward to produce.

What is Dill?
Dill is a green, fragrant plant from the celery family that is often referred to as dill weed (aka Apiaceae). Dill, or Anethum graveolens as it is scientifically known, gets its popular name from the Norwegian word “Dilla,” which means “to comfort.” The dill plant’s edible parts include seeds, stalks, flowers, and the culinary herb’s leaves. Dill is a common ingredient in Mediterranean cooking and goes exceptionally well with fish, pickled vegetables, light salads, creamy dressings, and egg dishes. It is a native of southwest Asia.
How to Freeze Fresh Dill?
Freezing Dill
Fresh dill may quickly be frozen in under five minutes. Water, a cookie sheet, and a freezer bag or other freezer-safe container are the only ingredients you’ll need in addition to the dill. When you’re ready to use it, take out what you need from the frozen dill and use it just like fresh dill. It defrosts so quickly that you don’t need to do anything special; add it to the dish you’re creating.
Here’s how to freeze dill, a simple household task:
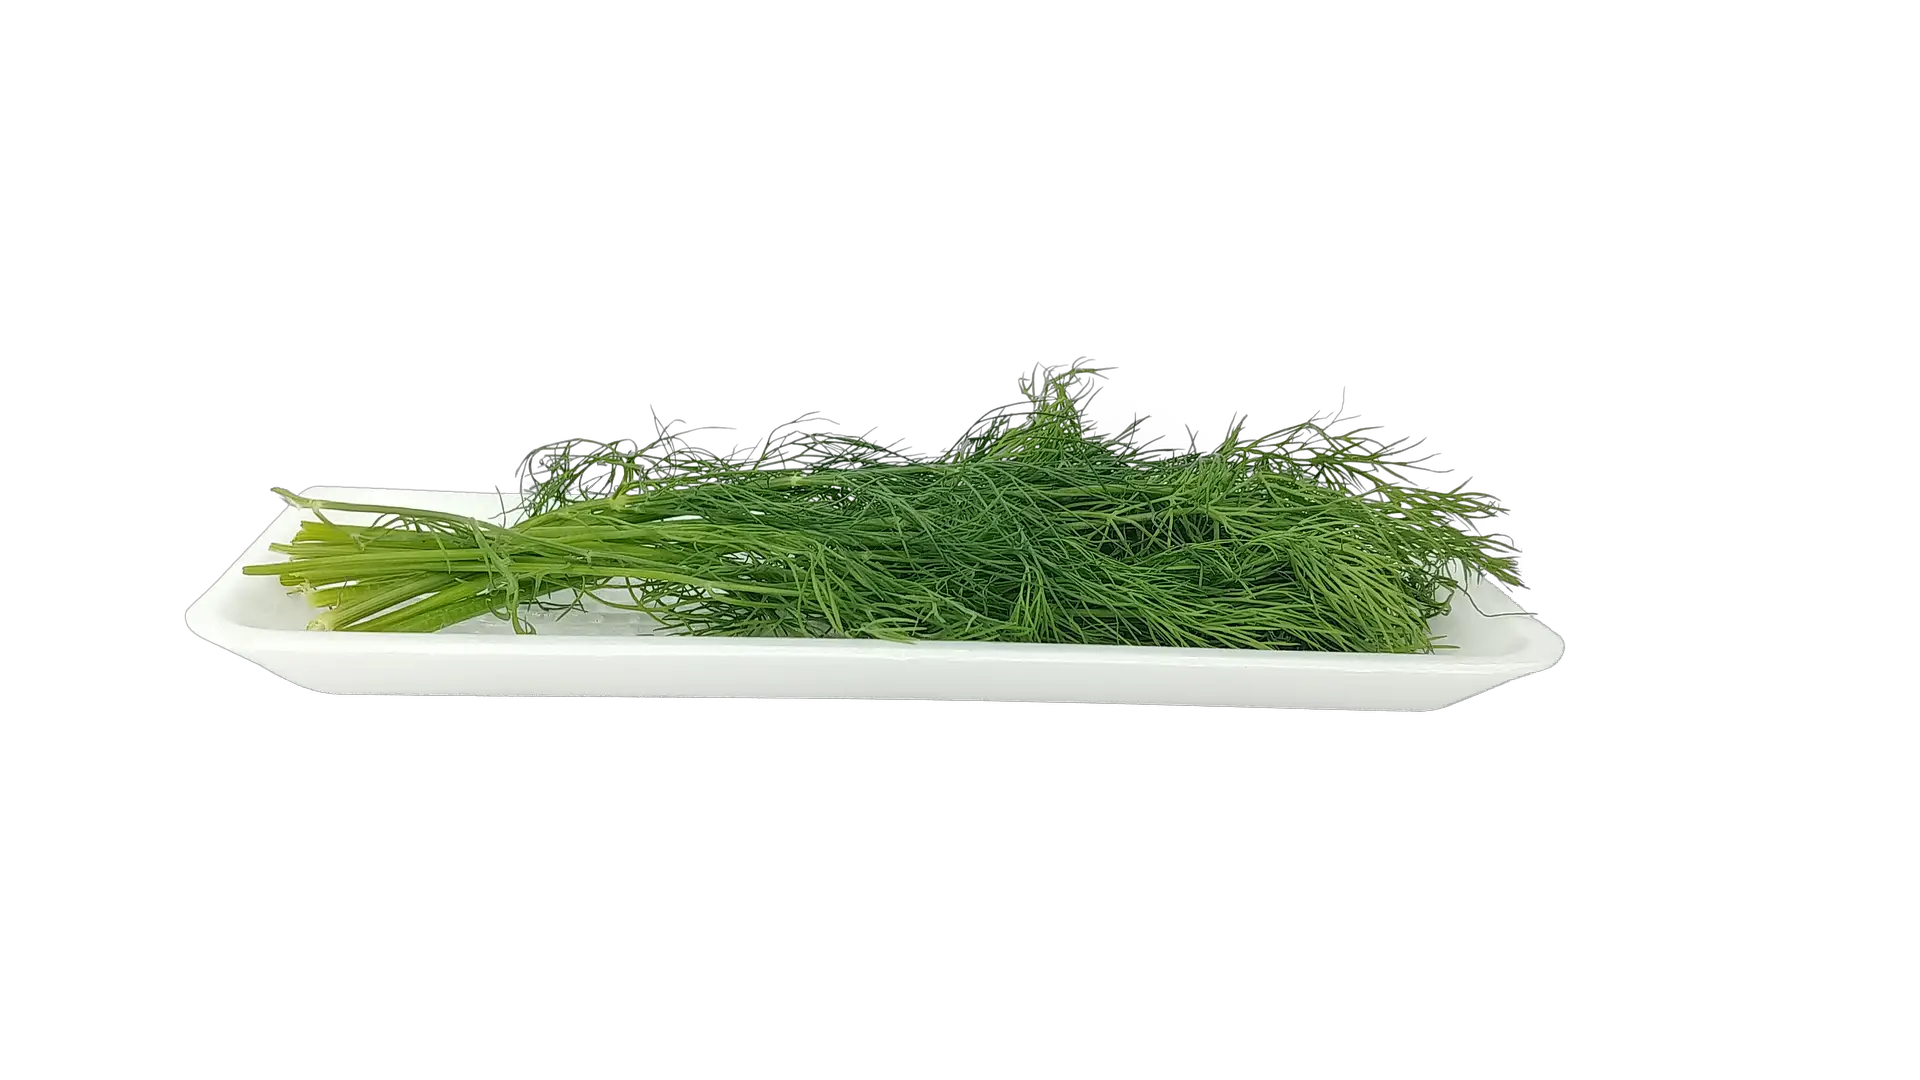
Step 1: Dill Cleaning
Use a knife to cut off the plant’s lowest stalk. Find the lower stalk, branched stems, and fronds on your dill weed by taking a careful look at it. The soft, frilly points on the dill plant’s edge will help you locate the fronds. These fronds have branched stems attached to them, and a lower, thicker stalk is at the base of the plant. You won’t utilize this stalk section in subsequent dishes, so use a knife to cut it off.
With plenty of cool water, thoroughly wash the dill. Hold the freshly-trimmed bunch of dill in the cool, moving water. Rotate the plant to distribute the water evenly throughout the fronds. Let any extra water trickle over the sink once you turn the water off.
Utilize a paper towel to pat the herbs dry. Place a dry paper towel on a level surface, then sprinkle the dill over it. Blot any additional dampness from the herbs with an extra paper towel. When the dill is dry to the touch, keep dabbing at it.
Step 2: Putting Plain Dill in Freezer Bags
Dill should be chopped into significant bits. Slice the dill more coarsely with a knife. Instead of worrying about finely slicing the herb, cut the dill into manageable cooking-sized pieces of comparable size. Start putting the dill bits aside as you miss it.
Put the herbs in a single layer on a baking sheet. On top of the baking sheet, scatter the chopped dill. Try your best to keep the dill in a thin layer separated from one another with little to no overlap. If you don’t stack the dill pieces, you won’t have to wait as long for them to freeze.
- You use the sheet to hold the drill bits as they freeze, so don’t worry about lining it.
For 12 hours, place the cookie sheet in the freezer. To ensure that the dill pieces freeze uniformly, place the tray in the freezer on a shelf with lots of free space. Ensure no hazardous items in the freezer could fall onto the tray and slow down the operation before you close the door. Check the dill pieces for firmness after the herbs have been frozen for the night.
- After one night, if the dill bits are still not frozen, leave them in for a further 2-4 hours. Make occasional checks until they are entirely firm to the touch.
- Families with bigger and more powerful freezers might not have to wait as long.
Place the frozen dill in a freezer-safe plastic bag. Once the dill bits have frozen, take the cookie sheet out of the freezer. Scoop the herbs into a plastic bag that can be frozen, and then seal it. To monitor the dill’s freshness, label the bag.
- You may need to use more than one plastic storage bag if you’re storing a lot of dills.
Inside of six months, use the dill. Use the dill pieces within 4-6 months to avoid freezer burn on the herbs. To avoid forgetting about the herbs, try to keep them near the front of the appliance.
Step 3: Using an Ice Cube Tray
If you want to use dill in sauces or stews, freeze it in oil first. Adding dill to an ice cube tray and covering it with olive oil may turn it into a go-to garnish or extra ingredient for upcoming meals. Choose fresh dill instead of the frozen variety if you’re making recipes that call for more fresh ingredients, including salads or dips.
- Any herb, including dill, can be frozen in water to create attractive ice cubes perfect for drinks.
Cut the dill into large, uniform pieces. To make the dill fit in the ice cube tray wells, use a knife to cut it into smaller pieces. Avoid missing the spice too finely unless you want the herb to be in tiny amounts for future recipes.
- You can keep the dill in larger chunks if you don’t feel like cutting it.
Dill and olive oil should be added to the ice cube wells. Each ice cube well should contain a little bit of the chopped dill. Dill should be added until each well is 2/3 full. Finally, cover the dill with olive oil to completely cover the tray.
- Don’t overfill each well with oil. No oil should overlap any ice cubes; they should all be distinct.
The ice cube tray should be wrapped in plastic. Secure a lengthy piece of plastic wrap over the liquid oil. To prevent the oil from touching any other goods in the freezer, securely wrap the plastic around the tray’s edges. Utilize as many plastic wrap sheets as necessary.
Overnight oil cube freezing is recommended. Set the full ice cube tray in the free space in your freezer. Check the area for loose or unstable objects that could fall and cause the tray to topple. Before checking on the ice tray again, let the oil and dill freeze for the entire night.
- If, after one night, the oil is still not frozen, leave it in the freezer for a few more hours.
To store the cubes for a long time, put them in freezer bags. Each frozen oil cube should be removed from the tray and placed in the bottom of a freezer bag. Label the bag with the current date after all the cubes have been taken out. For the freshest results, try to utilize the dill within a year!
- Make sure the freezer-safe bags are purged of any extra air. This lessens the risk of freezer burn.
Step 4: Preserving as a Past
Pick the dill stems’ fronds off. Pinch off the fluffy, hanging fronds from the branch stem edges of a sizable bunch of dill weed. As you proceed, place these fronds in a basin. Keep removing the fronds until you have 2 cups (20 g) of dill.
- You can add the branch stems to the sauce if you’d like.
In a food processor, combine 2 cups (20 g) of dill and 2 tsp (11.4 g) of salt. Add a little quantity of salt and the dill fronds to a food processor. Set the appliance’s speed to high so the dill and salt mixture may turn. To make a paste from the dill and salt mixture, put the machine on at high speed. Keep the food processor running for a few seconds or until you notice a thicker consistency forming.
Olive oil, 1 cup (240 mL), should be added to the mixture. Olive oil should be gradually added to the food processor while it mixes. Pour the oil inside your gadget through the top aperture. If your food processor doesn’t have this feature, you must stop it and add the oil. The ingredients should continue to be combined until a wet paste develops.
- To gradually add the oil to the sauce, divide it into three or four portions. Before adding more, give the dill time to absorb the oil’s first little.
- Use whatever cooking oil you typically use if you don’t have any olive oil.
The paste should be added to an ice cube pan. Remove the main container and shut off the food processor. Fill the entire well of each ice cube with the sauce. Use a different tray if necessary to hold the remaining mixture.
- Be careful not to fill the individual wells in the ice cube trays with too much paste. In the freezer, discrete ice cubes should ideally form.
Overnight, freeze the sauce mixture. Set the ice cube trays in your freezer on a flat, accessible surface. Put the ice cube trays in your freezer on a flat, accessible surface. Make sure that nothing can fall onto the trays and hinder the freezing process by being close by. Check if the sauce is frozen the next day by leaving the tray(s) in the freezer overnight.
For four months, store the sauce cubes in double-layered freezer bags. The frozen sauce cubes should be removed from the ice cube trays and placed in a big, freezer-safe plastic bag. Put the bag with the sauce cubes inside another freezer-safe bag when filled. You can close the second outside bag by rolling down the top of the sealed inside the bag. Use the dill sauce within four months of defrosting it.
- Before storing the sauce cubes, carefully squeeze out extra air from both bags.
- To remember when you made the sauce, label the bag.
How Long does Fresh Dill Stay Fresh in the Freezer?
Enough water should be added to the trays to submerge the dill completely. Waters advises moving the ice cubes to a plastic freezer bag to extend their freezer life further. She claims that by doing this, the dill would remain fresh for up to four months.
Is Drying Dill Preferable to Freezing it?
Use frozen dill within three to four months of freezing for the most outstanding results. Dried up dill weed One of the most dependable techniques for long-term storage is drying herbs. Using a food dehydrator is the finest method for drying fresh herbs.
Do Dill have any Health Benefits?
Flavonoids, which have been demonstrated to help lower the risk of heart disease and stroke, are abundant in dill. But dill is believed to benefit heart health for other reasons as well. Dill has been shown to lower LDL cholesterol levels in animal studies.
Which Dill Plant Section do you Use?
The component of the plant that is used most frequently is the fronds, and unlike some other herbs, dill leaves can be used liberally without overwhelming a meal. Dill gets along well with other dill family members, such as fennel, celery, and carrots.
Conclusion
Plant enough herbs in your garden to last you the whole year. After that, freeze your product so you won’t ever need to spend money on fresh or dried dill at the supermarket. We hope you liked this article.
